These first few are the deck before, you can see why we needed to sand it down, it was in bad shape. The previous owners put laytex paint over the old stain so the only way to fix it was to sand it down completely, and restain. The sanding took about a month, the staining? A day.
Here are some before pictures
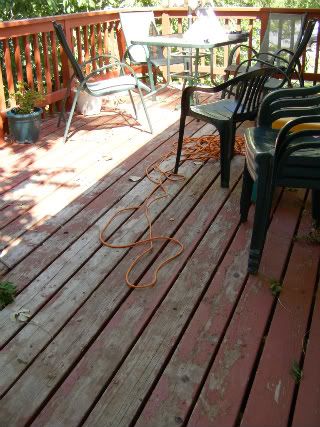
This is just a view of the general deck
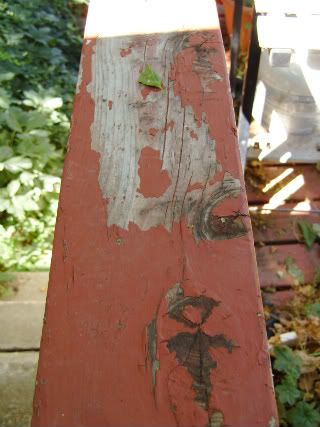
This shows how bad the paint was peeling
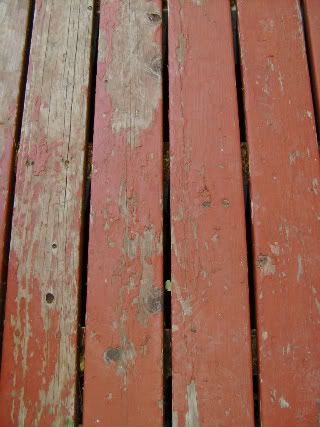
again, how bad the paint was peeling.
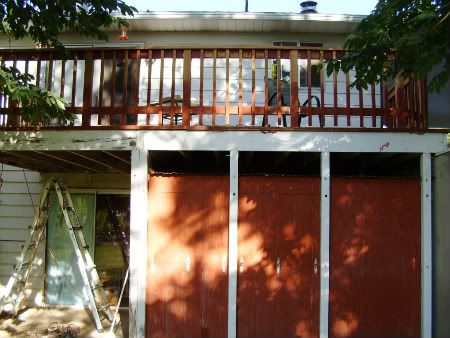
The view from the back yard
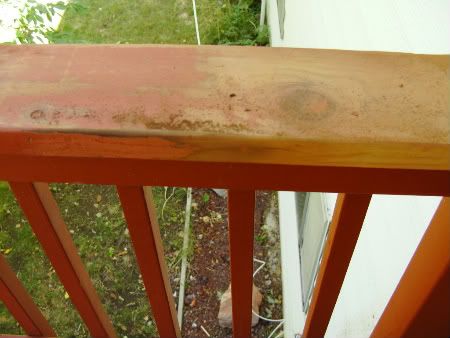
We were relieved to see that once we sanded down a little bit the wood was still good, we couldn't afford to replace the whole deck.
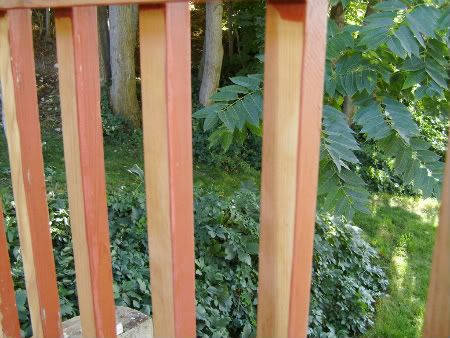
There were some parts that were particularly difficult, inbetween these railings was one, the other was the beams underneath which follow this picture.
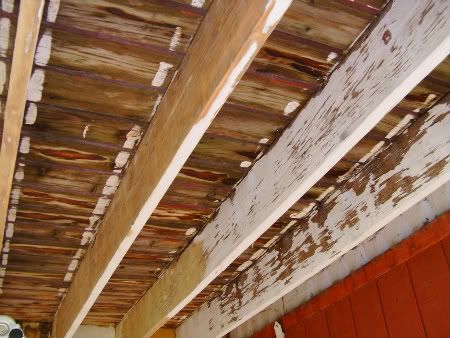
yep, these were hard.
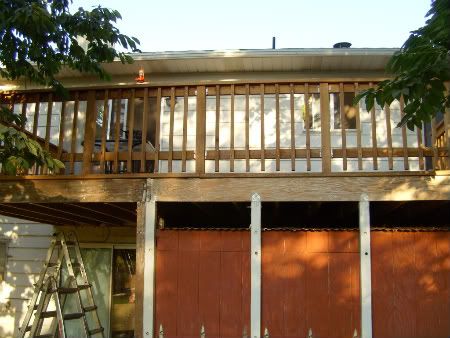
The back after it's all sanded and ready for stain
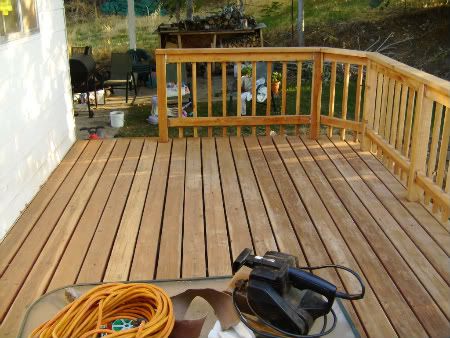
The deck all sanded and ready for stain.
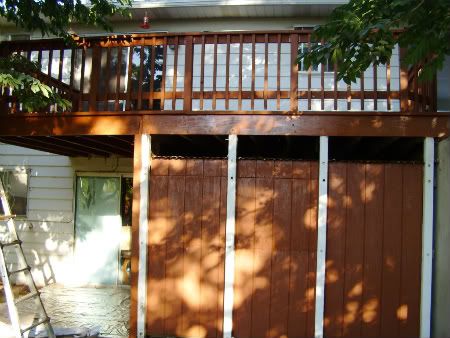
The back all stained
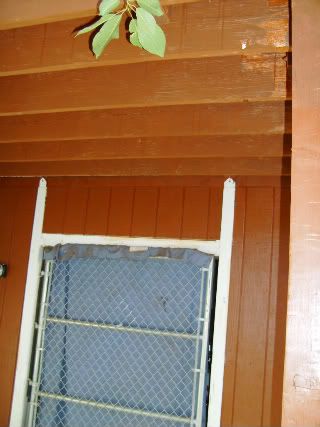
The beams all stained
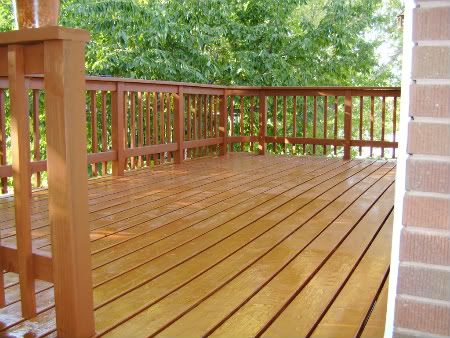
The deck all stained, isn't it beautiful!
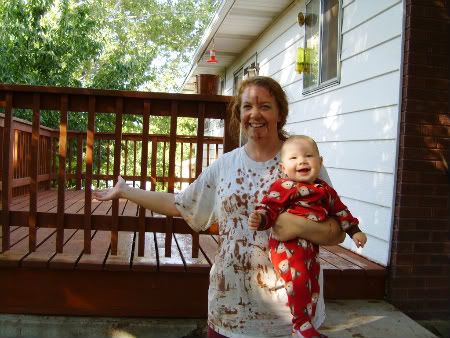
And lastly, me all stained! I was so happy to be done! I am still recovering, I'm starting to feel like I can function again but this was sooo hard, I hope to never had to do this again! Now that it's been done right, I should just have to restain every three to four years and that only takes one day, not a month.
6 comments:
It looks fantastic! What a huge project, you are amazing.
desperate might be a better word for it! It was do or die.
WOW.
That was HUGE! Congrats on a huge project!
By the way... Fius has exactly those jammies!
It's beautiful! You did a great job!
J.
Wow! Looks great! All that work makes me tired just thinking about it! Now I know for sure that I want to replace ours with Trex ASASP!!
Bon- thanks!
J- thanks
Katie- if we could have afforded that we would have for sure. But, it just wasn't in the cards. After what I went through, Trex is worth every penny. Hopefully this will help the deck last another ten years or so and then we'll replace and perhaps even expand the deck with Trex, we love our deck and use it a lot.
Post a Comment